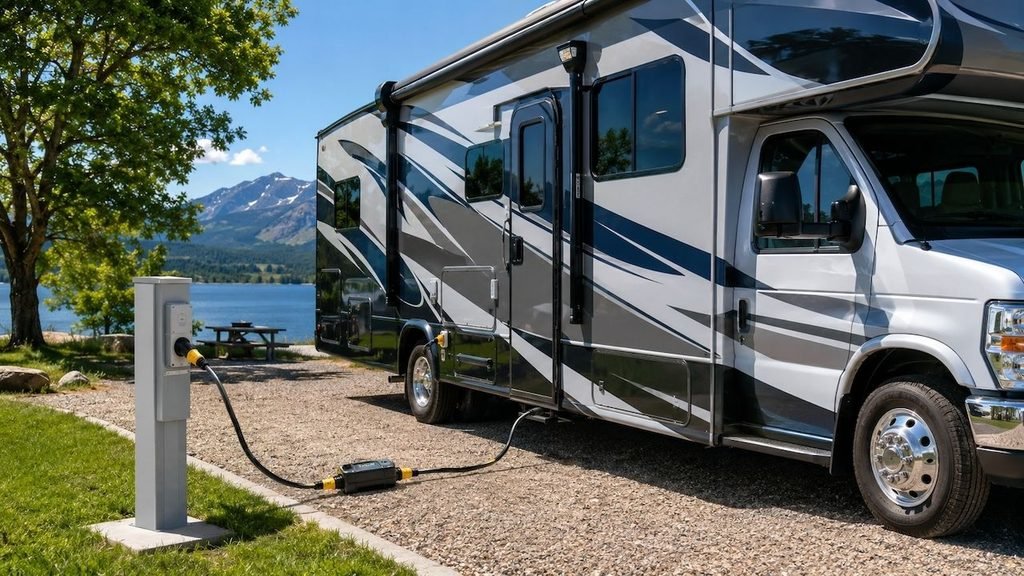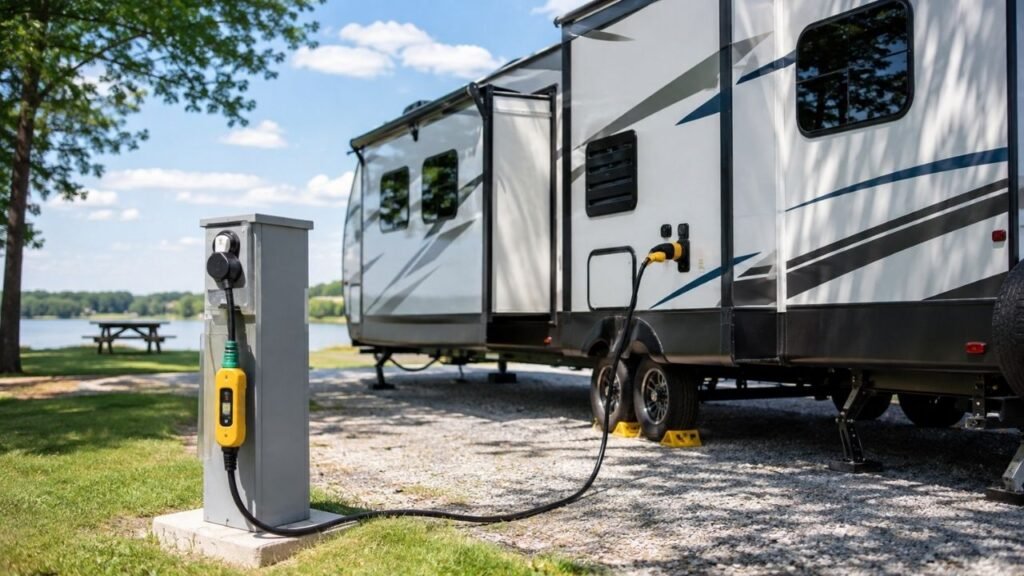
Your RV water pressure may feel lower after installing a filter because the filter adds resistance to the water line. A small reduction is normal, but very weak flow can point to a restrictive cartridge, trapped air, sediment buildup, a clogged screen, poor campground flow, or another restriction in the hookup.
The good news is that you can usually find the problem quickly. I’ll walk you through simple tests to determine whether the filter, regulator, hose, campground supply, or RV plumbing is actually causing the weak flow.
Key Takeaways
- Every RV water filter adds some resistance to water flow.
- A slight flow reduction can be normal after installing a filter.
- Severe pressure loss usually indicates an additional restriction.
- Bypassing the filter is the fastest way to test it.
- Fine filter media can reduce flow more than larger-flow cartridges.
- Campground water can clog a filter faster than expected.
- A clogged regulator screen can feel like a filter problem.
- One weak faucet usually points to a local fixture blockage.
- Keep your pressure regulator installed to protect the RV plumbing.
- Check your RV manufacturer’s maximum recommended inlet pressure.
Is It Normal for an RV Water Filter to Reduce Water Pressure?
Yes, some reduction in water flow is normal after installing an RV water filter. Water must pass through filter media, and that creates resistance before the water enters your RV.
However, you should not automatically accept extremely weak shower pressure.
A properly matched filter should still provide usable water flow. If the shower suddenly becomes a trickle, something may be restricting the system more than expected.
It also helps to understand the difference between pressure and flow.
Water pressure describes the force pushing water through the plumbing. It is measured in PSI.
Water flow describes how much water moves through the plumbing. It is usually measured in gallons per minute, or GPM.
You can have decent pressure while every faucet is closed. Yet that pressure may fall sharply when you open the shower.
That is why I would not diagnose your system using static PSI alone. Watch what happens while water is actually flowing.
First, Confirm That the Filter Is Actually Causing the Problem
Before replacing cartridges or adjusting anything, isolate the problem. A quick comparison can save you from troubleshooting the wrong component.
| What You Notice | Likely Problem Area | Quick Test | What to Check |
| Flow became weak immediately after installing the filter | Filter or installation | Bypass the filter | Cartridge, direction, air, fittings |
| Flow stays weak without the filter | Supply or another component | Test upstream parts | Spigot, regulator, hose, inlet |
| Every RV faucet is weak | Main water path | Test several fixtures | Filter, regulator, hose, inlet screen |
| Only one faucet is weak | Local fixture | Remove its aerator | Aerator, screen, fixture valve |
| One faucet works but two become weak | Flow capacity | Open two fixtures | Filter GPM, regulator, source flow |
| Pump pressure is strong but city water is weak | External hookup | Compare pump and city water | Filter, regulator, hose, campground |
| Pressure gradually became worse | Filter loading | Bypass or inspect filter | Sediment and cartridge condition |
| Water sputters after filter installation | Trapped air | Run a cold faucet | Filter housing and plumbing air |
The most important test is simple.
Run a faucet with the filter installed. Then bypass or temporarily remove the filter if your setup allows it.
If normal flow immediately returns, the filter system deserves closer inspection.
If nothing changes, do not keep replacing filters. The restriction is probably somewhere else.
Why Did My RV Water Pressure Drop Right After Installing the Filter?
When pressure drops immediately after installation, focus on things that changed during the installation. You are usually dealing with restriction, trapped air, cartridge selection, or an installation issue.
The Filter Naturally Restricts Some Water Flow
Every filter makes water travel through another layer of resistance.
Sediment media, carbon, membranes, fittings, and filter housings all affect flow.
A small difference at the faucet may therefore be completely normal.
The problem starts when the restriction becomes large enough to affect normal RV use.
Your shower should not suddenly become unusable simply because you added filtration.
The Cartridge May Be Too Restrictive for Your RV
Not every water filter is designed for the same flow rate.
Some compact cartridges work well for drinking water. They may struggle when supplying an entire RV.
Imagine running your shower while someone opens the kitchen faucet.
A filter with limited flow capacity may handle one fixture reasonably well. Once two fixtures demand water, pressure can fall dramatically.
Check the manufacturer’s rated flow in GPM when possible.
A higher-capacity filter generally handles simultaneous RV water use better.
The Micron Rating May Be Finer Than You Need
The micron rating tells you roughly how small a particle the filter targets.
A lower micron number means finer filtration.
Finer media can sometimes create more resistance. It can also clog quickly when campground water contains sediment.
However, micron rating alone does not determine water flow.
Filter size, surface area, media design, and housing size also matter.
A large fine filter may actually flow better than a tiny coarse filter.
Choose filtration based on both water quality and required flow.
Air Is Trapped Inside the Filter or Water Line
Did the problem begin immediately after opening the filter housing?
Trapped air may be responsible.
Air enters the system whenever you disconnect hoses or replace cartridges. It can leave faucets sputtering, surging, or temporarily producing weak streams.
Try opening the campground supply gradually.
Then open a cold-water faucet inside the RV.
Allow it to run until the sputtering disappears and the stream becomes steady.
Follow your filter manufacturer’s flushing instructions as well.
If pressure returns afterward, trapped air was probably the problem.
The Filter Is Installed in the Wrong Direction
Many inline filters have a designated inlet and outlet.
Installing one backward can reduce performance.
Look for an arrow or markings showing the correct water direction.
Water should travel through the filter exactly as the manufacturer intended.
This check takes seconds, so I recommend doing it early.
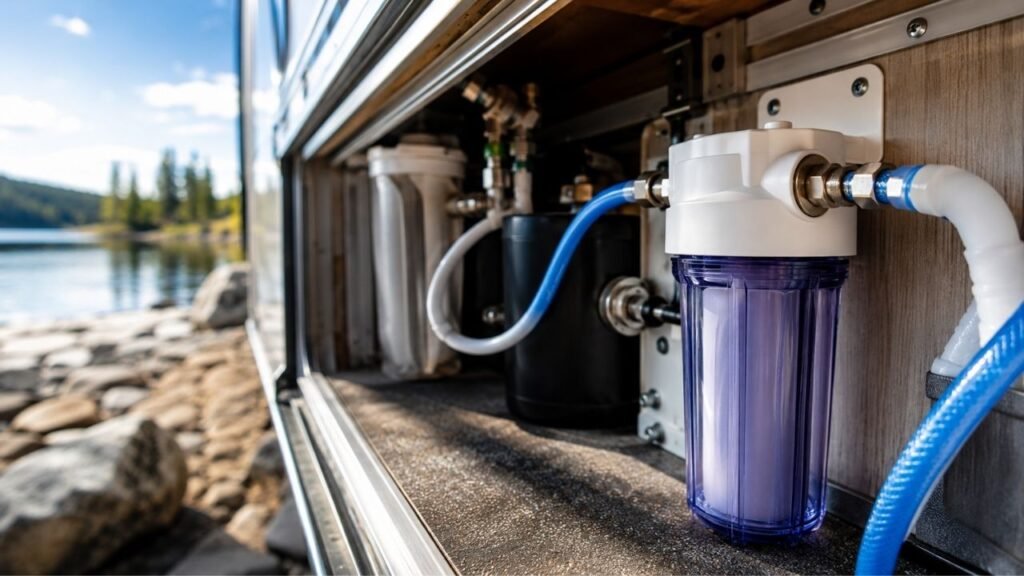
The Cartridge Is Not Seated Correctly
Canister systems require the cartridge to sit correctly inside the housing.
A misaligned cartridge can interfere with normal water movement.
The housing may also contain a damaged seal or incorrectly positioned part.
Turn the water supply off before opening any housing.
Then relieve pressure from the plumbing.
Never try to loosen a filter canister while it remains pressurized.
Inspect the cartridge and reinstall it according to its instructions.
A Valve Was Not Fully Reopened
This sounds simple, but it happens surprisingly often.
You may close a valve while installing the filter. After installation, the valve may only be partially reopened.
Check every valve along the water path.
That includes filter valves, bypass valves, and other accessible shutoffs.
A partially closed valve can create a major restriction.
A Fitting or Quick-Connect Is Restricting Flow
The filter cartridge is not always the narrowest point.
Adapters, quick-connect fittings, washers, elbows, and hose connectors can reduce the internal opening.
A poorly seated washer may even partially block the passage.
Inspect the connections around your new filter.
Look for anything pinched, misaligned, undersized, or installed incorrectly.
Why Does RV Water Pressure Get Worse Days or Weeks After Installing a Filter?
If your filter worked well at first but pressure gradually dropped, the installation itself is less suspicious. Contaminant buildup and filter loading become much more likely.
Sediment Has Started Clogging the Cartridge
Campground water can contain sand, rust, clay, silt, and other particles.
Your sediment filter catches that material before it enters the RV.
That is exactly what the filter should do.
Unfortunately, accumulated sediment also blocks the pathways water uses.
The result is gradually decreasing flow.
Do not rely entirely on a calendar replacement schedule.
A cartridge may clog quickly at one campground and last much longer elsewhere.
Campground Water Contains More Sediment Than Expected
Water conditions vary considerably between campgrounds.
One campsite may provide clear municipal water. Another may supply water carrying noticeable sediment.
A new cartridge can therefore clog surprisingly quickly.
If pressure drops shortly after arriving somewhere new, inspect the sediment stage.
The filter may actually be protecting your RV successfully.
It may simply need replacement sooner than expected.
The Carbon Stage Is Becoming Restricted
Carbon filters help improve taste and reduce certain odors and contaminants.
However, dense carbon media naturally creates resistance.
It can become even more restrictive when sediment reaches the carbon stage.
This is one reason multi-stage systems often use sediment filtration first.
The sediment cartridge protects the more restrictive downstream media.
If your carbon filter clogs repeatedly, inspect the earlier filtration stages.
Multiple Filter Stages Are Adding Up
A multi-stage setup can provide better water treatment.
It also adds more places where pressure can drop.
Your water may travel through:
- A pressure regulator
- A sediment filter
- A carbon cartridge
- Another fine filter
- A water softener
- Several hoses and fittings
Each component adds some resistance.
Individually, those losses may seem small.
Together, they can noticeably reduce flow inside the RV.
How to Fix Low RV Water Pressure After Installing a Filter
I recommend troubleshooting in a fixed order. Start at the campground source and work toward the RV instead of replacing parts randomly.
1. Test Water Flow at the Campground Spigot
Start before the filter.
Disconnect your water equipment from the campground spigot.
Briefly test the available flow while following campground rules.
You want to know whether the source itself is weak.
If the spigot barely provides water, your filter cannot create additional flow.
The campground supply needs to provide enough water first.
A source can also show decent static pressure but poor flow under demand.
Keep that in mind if you use a pressure gauge.
2. Compare Flow With the Filter Connected and Bypassed
This is usually the most useful test.
Set the system up normally and open a faucet.
Notice the strength of the stream.
Next, bypass the filter or remove it from the test circuit.
Keep the rest of the setup as similar as possible.
If the flow improves dramatically, you have isolated the restriction.
Now inspect the cartridge, filter housing, fittings, and installation.
If the flow stays weak, continue upstream and downstream.
3. Purge Air From the Filter and RV Plumbing
Turn the water supply on gradually.
Open a cold-water faucet.
Let water run while trapped air escapes.
You may hear sputtering at first.
Continue until the stream becomes smooth.
Repeat the process at another fixture if needed.
Follow any specific flushing instructions provided with your cartridge.
4. Verify Filter Direction and Cartridge Installation
Check any directional arrows on the filter.
Confirm that water enters through the proper side.
If you use a canister, make sure the cartridge is seated correctly.
Inspect accessible seals and O-rings while the system is depressurized.
Do not overtighten the housing trying to improve pressure.
Overtightening can damage the housing or sealing surfaces.
5. Inspect the Cartridge for Sediment
Turn off the water and relieve pressure before opening the housing.
Look at the sediment cartridge.
Heavy brown, orange, gray, or muddy buildup suggests contaminant loading.
However, a cartridge does not need to look completely filthy to restrict flow.
If bypassing the cartridge restores normal water delivery, replacement may be appropriate.
6. Clean the Regulator and Connection Screens
Many RV water connections contain small screens.
These screens protect equipment from debris.
They can also become clogged.
Check accessible screens around:
- The pressure regulator
- Hose connections
- Quick-connect fittings
- The RV city-water inlet
Turn off and depressurize the system first.
Rinse removable screens carefully before reinstalling them.
7. Inspect the Potable-Water Hose
Walk along the entire hose.
Look for sharp bends, kinks, crushed sections, and flattened areas.
Pay special attention near fittings.
A hose may appear fine from several feet away while being sharply bent behind the filter.
Straighten the hose and retest the faucet.
Replace damaged hoses that remain collapsed or restricted.
8. Clean Faucet Aerators and the Showerhead Screen
If only one fixture feels weak, look inside that fixture first.
Installing a filter can disturb debris already inside your plumbing.
That debris may travel downstream and stop at an aerator.
Unscrew the faucet aerator if it is designed for removal.
Clean the screen and test the faucet again.
Do the same with an accessible showerhead screen.
If every other fixture works normally, the main filter is less likely to be responsible.
9. Replace the Cartridge If It Is Confirmed as the Restriction
Do not replace cartridges solely because the water feels weak.
Confirm the filter is responsible first.
A bypass test makes that much easier.
Replacement makes sense when flow returns without the cartridge.
It also makes sense when the cartridge has clearly accumulated sediment.
Install the correct replacement cartridge for your particular filter housing.
10. Retest With One Fixture and Then Two Fixtures
Do one final test after completing repairs.
Open one faucet.
Confirm that the flow feels normal.
Then open a second fixture.
Notice whether the first faucet suddenly weakens.
If performance is good with one fixture but poor with two, your system may have a capacity problem rather than a blockage.
Check the rated GPM of the filter and regulator.
Should the RV Water Pressure Regulator Go Before or After the Filter?
For a typical external city-water hookup, I recommend placing the pressure regulator near the campground spigot, before the filter.
A common setup looks like this:
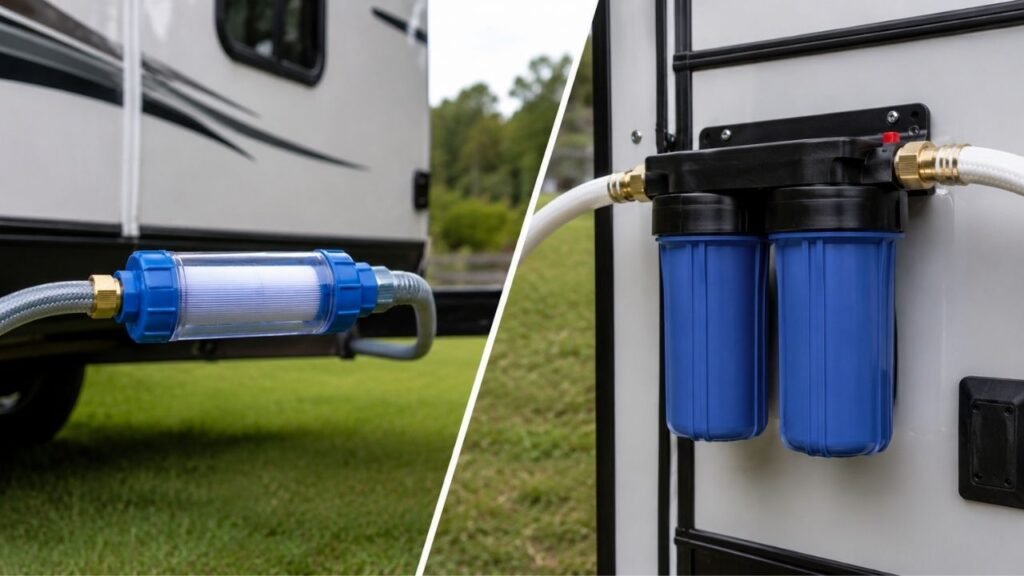
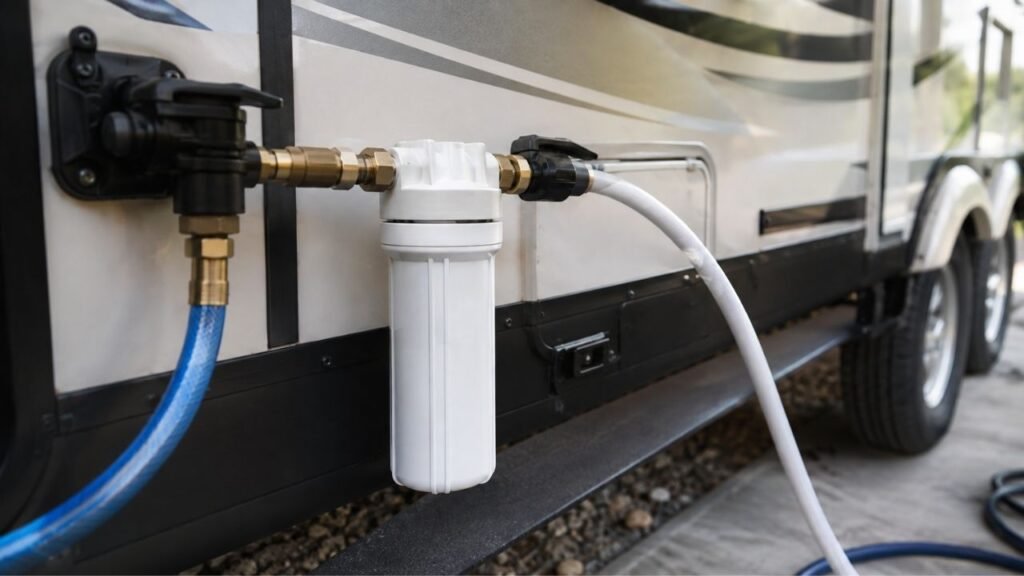
Campground spigot → pressure regulator → water filter → potable-water hose → RV city-water inlet
This arrangement helps protect downstream equipment from unexpectedly high campground pressure.
That includes the filter, hose, fittings, and RV plumbing.
You may see different configurations with specialized filtration equipment. Always follow instructions for your particular filter and RV.
Most importantly, check your RV manufacturer’s maximum inlet pressure.
Do not increase pressure beyond that limit simply to overcome a restrictive filter.
Can the Pressure Regulator Be Causing the Low Flow Instead?
Yes. A pressure regulator can become a bottleneck, so do not automatically blame the new filter.
Common regulator problems include:
- A clogged inlet screen
- Internal sediment buildup
- A damaged regulator
- An adjustment set too low
- Limited flow capacity
- Weak campground pressure entering the regulator
If flow drops dramatically when the regulator enters the test setup, investigate it.
However, do not permanently remove your regulator just to increase water pressure.
Campground pressure can change without warning.
The regulator protects your RV plumbing from excessive pressure.
How Filter Type and Micron Rating Affect RV Water Flow
Different filter designs create different levels of resistance. Knowing what each stage does can help you choose filtration without sacrificing more flow than necessary.
| Filter Type | Typical Effect on Flow | When Restriction Becomes More Likely |
| Coarse sediment filter | Usually relatively open when clean | Heavy sediment builds up |
| Fine sediment filter | May create more resistance | Dirty source water clogs media |
| Carbon block filter | Denser media creates resistance | Sediment reaches the carbon stage |
| Compact inline filter | Depends heavily on design | Flow demand exceeds capacity |
| Large canister filter | Often offers more media area | Cartridge becomes heavily loaded |
| Multi-stage system | Restrictions combine | Several dense stages are stacked |
Do not automatically choose the lowest micron number available.
Ask what problem you are trying to solve.
If your campground water carries visible sediment, a suitable sediment stage may protect finer downstream filtration.
Also compare the filter’s rated GPM.
That number can matter more to your shower experience than marketing claims about filtration alone.
How Much PSI and GPM Does an RV Water System Need?
There is no single PSI number that I would recommend for every RV. Your RV manufacturer should determine the maximum safe city-water inlet pressure.
Many RV water systems operate within moderate pressure ranges.
However, simply raising PSI is not the correct solution for a restrictive filter.
Flow capacity matters too.
Imagine your regulator provides suitable pressure, but the filter only allows limited water movement.
The pressure gauge may look acceptable while every faucet feels weak.
This is why GPM should be considered when choosing a filter.
Think about how you actually use the RV.
Do you usually operate one faucet?
Or do you shower while another person uses the kitchen sink?
Choose a filtration system capable of supporting your expected demand.
City Water vs. Freshwater Tank: An Easy Way to Narrow Down the Problem
Your RV already gives you a useful troubleshooting comparison. Testing city water against the onboard freshwater pump can quickly tell you which side deserves attention.
Pressure Is Low Only on City Water
If your onboard pump provides normal flow but city water feels weak, focus on the external connection.
Check:
- Campground spigot
- Pressure regulator
- Water filter
- Potable-water hose
- City-water inlet screen
- External fittings
Your interior fixtures are less suspicious because they work normally with the pump.
Pressure Is Low on City Water and the Freshwater Pump
If both systems are weak, look for something they share.
Possible causes include:
- Interior plumbing restriction
- Built-in filter restriction
- Fixture screens
- Partially closed valves
- Clogged aerators
- Internal plumbing problems
You may also have separate problems affecting each supply method.
Testing several fixtures can narrow things down further.
Pressure Is Strong on the Pump but Weak on City Water
This is one of the clearest diagnostic clues.
Your faucets and most interior plumbing are probably capable of normal flow.
The restriction is likely somewhere in the city-water path.
Start with the campground source.
Then test the regulator, hose, filter, and city-water inlet individually.
One Faucet Is Weak vs. the Whole RV Has Low Pressure
The number of affected fixtures tells you where to investigate. Check several faucets before taking apart the filter system.
If every fixture is weak, check:
- Campground water supply
- Pressure regulator
- Main water filter
- Potable-water hose
- City-water inlet screen
- Main valves
If only one fixture is weak, check:
- Faucet aerator
- Showerhead screen
- Fixture valve
- Local supply line
- Debris inside the fixture
A filter installed upstream normally affects more than one fixture.
That is why one weak faucet often points somewhere else.
When the RV Water Filter Is Not Actually the Problem
The timing can make your new filter look guilty even when another component is responsible.
Check these possibilities before purchasing another cartridge:
- Weak campground water flow
- Clogged pressure regulator screen
- Damaged or restrictive regulator
- Kinked potable-water hose
- Crushed hose section
- Dirty city-water inlet screen
- Partially closed valve
- Clogged faucet aerator
- Blocked showerhead screen
- Internal plumbing restriction
- Pump-side problem when using freshwater
If removing the filter produces no meaningful improvement, stop focusing on it.
Keep testing the system one component at a time.
That approach usually finds the restriction much faster.
How to Prevent a Water Filter From Reducing RV Flow Again
Once you restore good flow, a few habits can prevent the same problem from returning. The goal is to protect the filter without adding unnecessary restriction.
- Flush the campground spigot before connecting your RV.
- Inspect the source water for visible sediment.
- Use a filter rated for adequate GPM.
- Match the micron rating to your actual filtration needs.
- Use sediment filtration before finer media when designed that way.
- Avoid stacking unnecessary restrictive filters.
- Check regulator and inlet screens periodically.
- Keep potable-water hoses free from sharp bends.
- Carry a spare sediment cartridge during longer trips.
- Replace cartridges when performance noticeably declines.
- Follow manufacturer flushing and replacement instructions.
- Watch for unusually dirty water when changing campgrounds.
I also recommend noting when a cartridge was installed.
That gives you a useful reference when pressure changes later.
When Should You Replace the Filter Instead of Troubleshooting Further?
You do not need to replace the cartridge every time water pressure changes. Replace it once testing gives you a good reason.
Replacement makes sense when:
- Bypassing the filter restores normal water flow.
- Flow was strong when the cartridge was new.
- Performance has gradually declined.
- The cartridge contains heavy sediment.
- It has reached its recommended service limit.
- The cartridge is damaged or deformed.
- Correct purging does not restore flow.
- Installation has been verified and restriction remains.
If replacement cartridges repeatedly clog within a very short period, investigate the incoming water.
You may need a better sediment strategy or larger filtration system.
Repeatedly buying the same cartridge will not solve an underlying sizing problem.
Final Words
A small reduction in RV water flow after installing a filter can be normal. A dramatic reduction usually means the water is meeting too much resistance somewhere along the way.
I recommend troubleshooting from the campground toward the RV:
Spigot → regulator → hose → filter → city-water inlet → fixtures
Test one component at a time.
If removing the filter immediately restores strong flow, inspect the cartridge and filter setup. If removing it changes nothing, move on instead of wasting money replacing filters.
Most importantly, do not increase pressure beyond your RV manufacturer’s limit to compensate for poor flow. Find the restriction and correct the actual problem.
Related FAQs
Can a New RV Water Filter Reduce Water Pressure?
Yes. A new RV filter naturally creates some resistance as water passes through its media. A slight change can be normal, but severe flow loss may indicate an overly restrictive cartridge, trapped air, incorrect installation, or another restriction in the water hookup.
Why Does My RV Have Good Pressure When I Remove the Water Filter?
If flow immediately improves when you remove the filter, the filter system is probably creating the restriction. Check the cartridge condition, rated GPM, micron rating, installation direction, housing, fittings, and any trapped air before replacing components.
Does a 1-Micron RV Water Filter Reduce Flow More Than a 5-Micron Filter?
A 1-micron filter can be more restrictive because it captures smaller particles, but micron rating is not the only factor. Filter size, media design, surface area, housing size, and rated GPM also affect how much water can pass through.
Should an RV Water Filter Go Before or After the Pressure Regulator?
For a typical campground hookup, the regulator usually goes at the campground spigot before the water filter. This helps protect the filter, hose, fittings, and RV plumbing from excessive source pressure. Follow your equipment manufacturer’s instructions if your system requires another arrangement.
Can I Remove My RV Water Pressure Regulator to Get More Pressure?
You should not permanently remove the regulator simply to improve pressure. Campground water pressure can become high enough to damage RV plumbing. Keep the regulator installed and troubleshoot the actual restriction instead.
Why Is My RV Water Pressure Low at Only One Faucet After Installing a Filter?
If every other fixture has normal flow, the main filter is probably not the problem. Check the affected faucet’s aerator, screen, local valve, and supply line for sediment or debris that may have been disturbed during installation.
Why Does My New RV Water Filter Sputter?
Sputtering commonly happens when air becomes trapped inside the filter housing or water lines during installation. Open the water supply gradually and run a cold-water faucet until the air clears and the stream becomes steady.
Can Dirty Campground Water Clog a New RV Filter Quickly?
Yes. Water containing heavy sediment, rust, sand, or silt can load a new cartridge much faster than expected. Filter replacement intervals therefore depend on actual water conditions rather than calendar time alone.
Will a Larger RV Water Filter Improve Water Flow?
A larger filter housing can provide greater media surface area and may reduce restriction at a given flow rate. However, cartridge design, micron rating, fittings, incoming pressure, and rated GPM also determine actual performance.
How Long Should I Flush a New RV Water Filter?
Flush the filter according to the manufacturer’s instructions because requirements vary by cartridge type. Continue until trapped air is removed and the water runs normally. Carbon filters may also release harmless carbon fines during the initial flush.

Ethan Walker writes about travel routes, outdoor exploration, and road-based adventures. His guides focus on simple planning, dependable gear, and realistic travel advice. He values comfort, safety, and practical experience over hype.